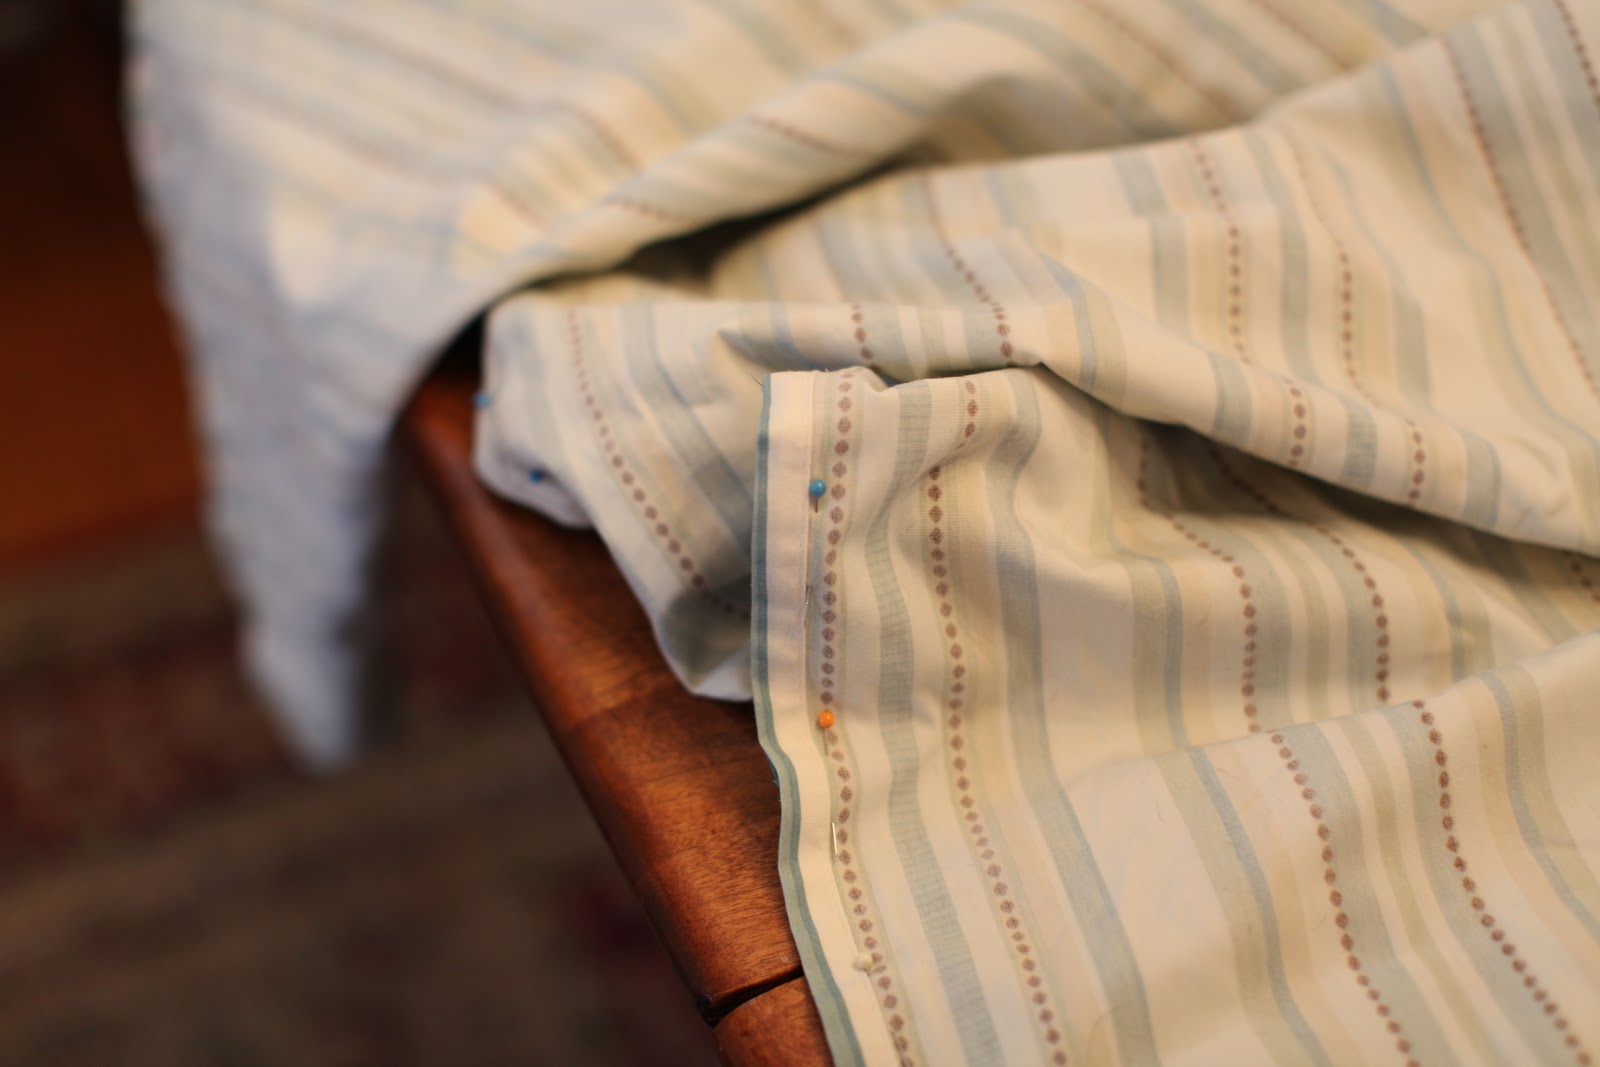
We have a queen sized bed and I wanted to make some matching pillowcases and throw pillows, so I bought a king flat sheet and a coordinating king sheet set to use for fabric (bought after the new year, when linens are on sale, this cost me less than $25). I think this was plenty for us but if you have a king bed you might need to buy another flat sheet or some fabric.
Before you ever get started, make sure to pre-wash and dry your fabric so that it has already shrunk as much as it is going to. Iron the fabric so that you make accurate measurements and cuts.
To make the duvet cover, you are really just sewing large rectangle that has an opening in one end. Measure your comforter width and length and measure, mark, and cut your two flat sheets so that you allow for a seam allowance and, if you choose to do this part, the french seam/sham flange edge. I generally do a 1/2" seam allowance and I did about a 1" flange so I added 3" to my comforter dimensions. I would not recommend making the duvet cover oversized for the comforter because I think you tend to get more lumping that way.

You will probably cut off two hemmed sides of your flat sheets. I recommend that you get rid of the very wide hem and use that side for the head of the bed. Then cut the sides so that when you pin the right sides together, each side will have a hemmed piece (e.g. I kept the hem from the left side of the blue sheet and the right side of the striped sheet) - this way your seams will have the same bulkiness.
The foot of the duvet cover will have two hemmed pieces. Since we will leave a gap for putting the comforter in, we like that it is already hemmed - this saves us some work.
Pin the right sides together, leaving a gap centered along the foot of the cover. I used a 40" gap. Sew along the perimeter, turning and going to the edge of the fabric on either side of the gap, as shown.
 |
| Make a right angle turn and sew to the edge of the fabric at the beginning and end of the gap. |
To prevent the comforter from getting lumpy, you can sew ties made of scraps to the corners that will be at the head of the bed - these will be tied to straps you have sewn to your comforter (see this tutorial).
Now you can be done if you wish but to add a little more polish, I sewed a French seam (or sham flange). Heat up your iron. While you are waiting for it to heat, why not have a little leftover butternut squash and blue cheese pasta?
 |
| Om nom. |
Now, iron the seams open all around (iron from the wrong side) and then iron them closed (from the right side). This will give you a nice crisp edge.
Then, with right sides out, just run the perimeter (making sure to leave the gap) through the sewing machine, leaving the desired space between the edge and the stitch. You can get creative here and use contrasting thread colors and decorative stitches to make it look really special. The most important thing here is to keep an even distance between the stitches - pick a guide mark and stick to it.
You are done. Stuff that sucker and stick it on the bed! (Though, if your house is like mine, you might wash it first because you have dragged it through a ton of dog hair -- ew.) Step-by-step directions are below.
- Wash, dry and iron your fabric.
- Measure your comforter.
- Measure out and mark your fabric.
- Cut your fabric.
- Pin right sides together.
- Stitch along perimeter, leaving a gap for inserting the comforter.
- Iron seams open and then closed.
- With right sides out, stitch along the perimeter, leaving a gap for inserting the comforter.


You did a wonderful job!
ReplyDeleteThanks Melissa! I am so proud of it. Even my hubby, who was grumbling about how we don't need new linens, loves how fluffy and pretty (certainly not his words!) it has made our bed. I am very glad you stopped by because I LOVE your blog. There are so many books out there and now I know where to go figure out which ones I will enjoy. Thanks!
Delete